This all started two years ago…
When we decided to start repainting the rooms in our house about a year-ish after living here we got very ambitious tackling not only repainting the bedroom but also “refinishing” the doors. The best bet would be to get them completely stripped and then we could clear seal them. It would really give some wood texture and warmth to the house. The only interior doors in the home are the two bedrooms and the bath that are all clustered in this small “hallway”. Hallway is being generous, it’s more of a tiny square passthrough of sorts.
But back to the doors.
All of the doors have been poorly painted, many many layers of paint, and even all over the hinges and hardware. It was messy to say the least. Plus they aren’t all painted the same. In one room the door was painted on one side white, and the other side a dark tan to match that bedroom’s trim.
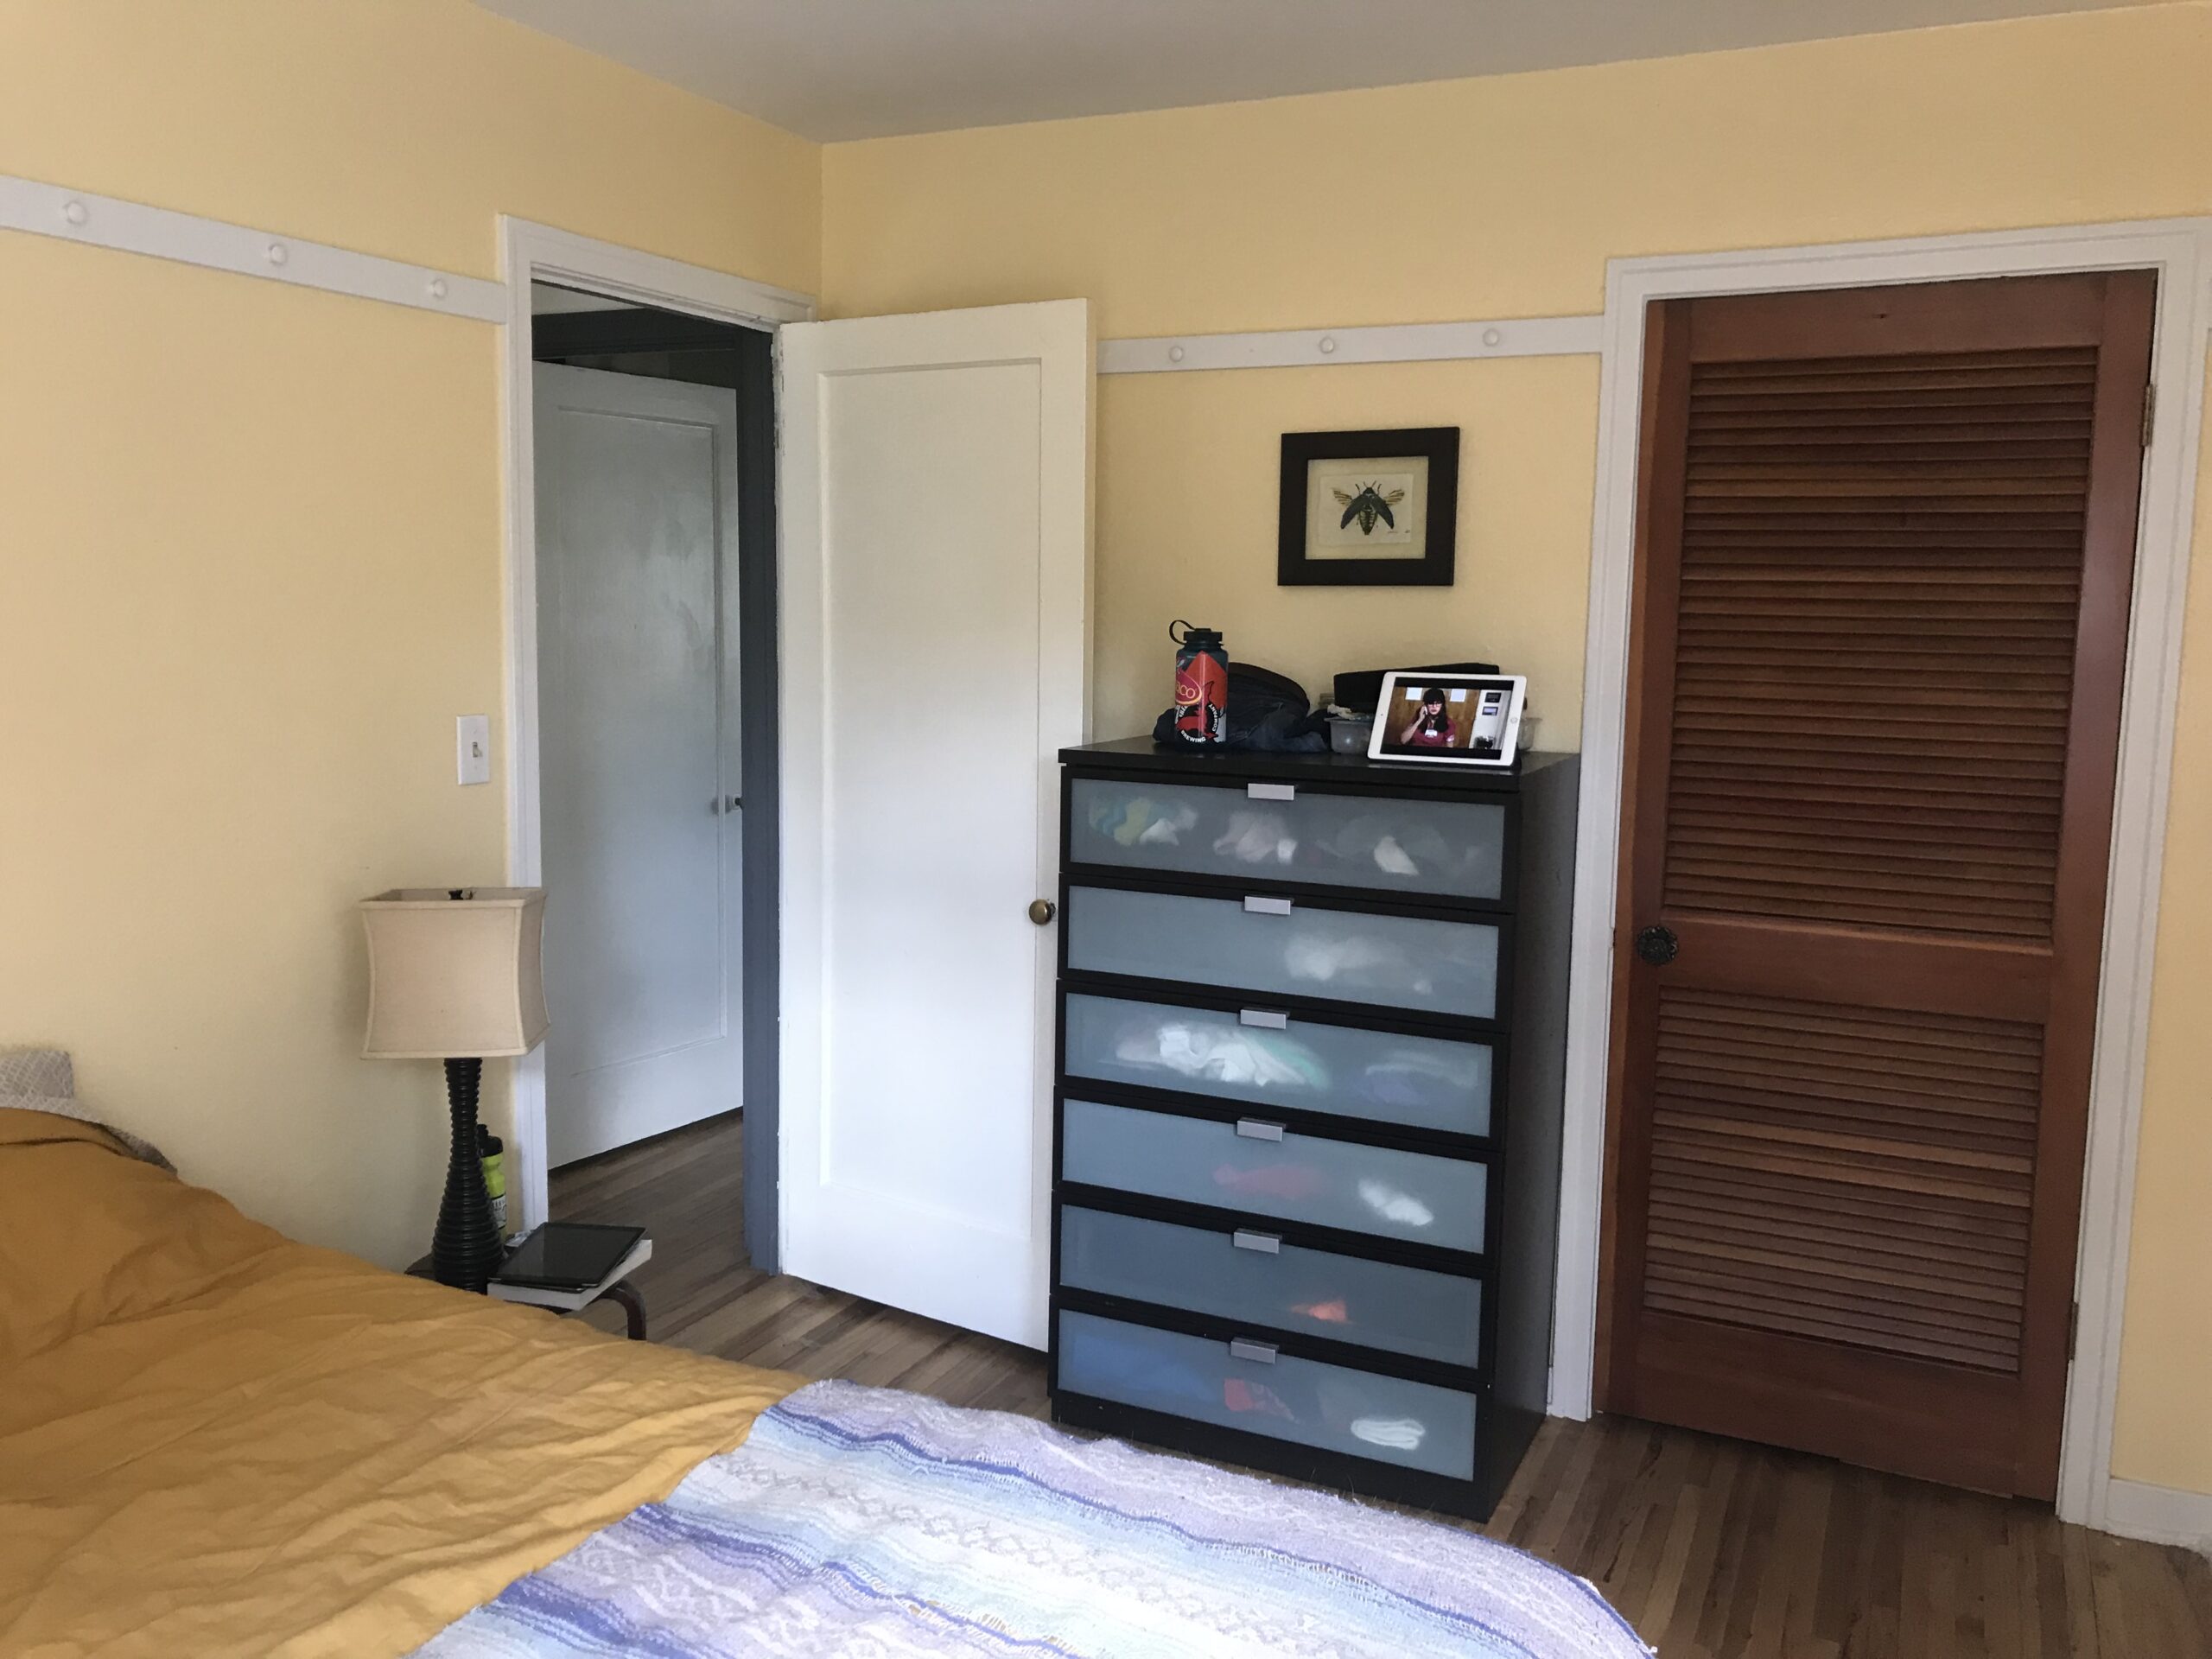
In our existing bedroom the interior was painted a baby faded yellow and the opposite side a dirty white. Not the great warmth we were looking for.
At the time we decided to divide and conquer. I would clean up the hardware of all the doors including the closets and Chris would tackle the doors. He has a background refinishing wood from a historic job he did so we thought he was best for the job. I on the other hand take on a project like a bulldozer haha, and just go in blind and figure it out. Usually involving the harshest chemicals I can find.
Chris wanted to try his best to use more “clean” products. I thought that was fine, but I’ll be honest, didn’t want to put in the work.
Well, once we got started we soon realized, just like with most projects we try, it is much harder and bigger than we could have imagined.
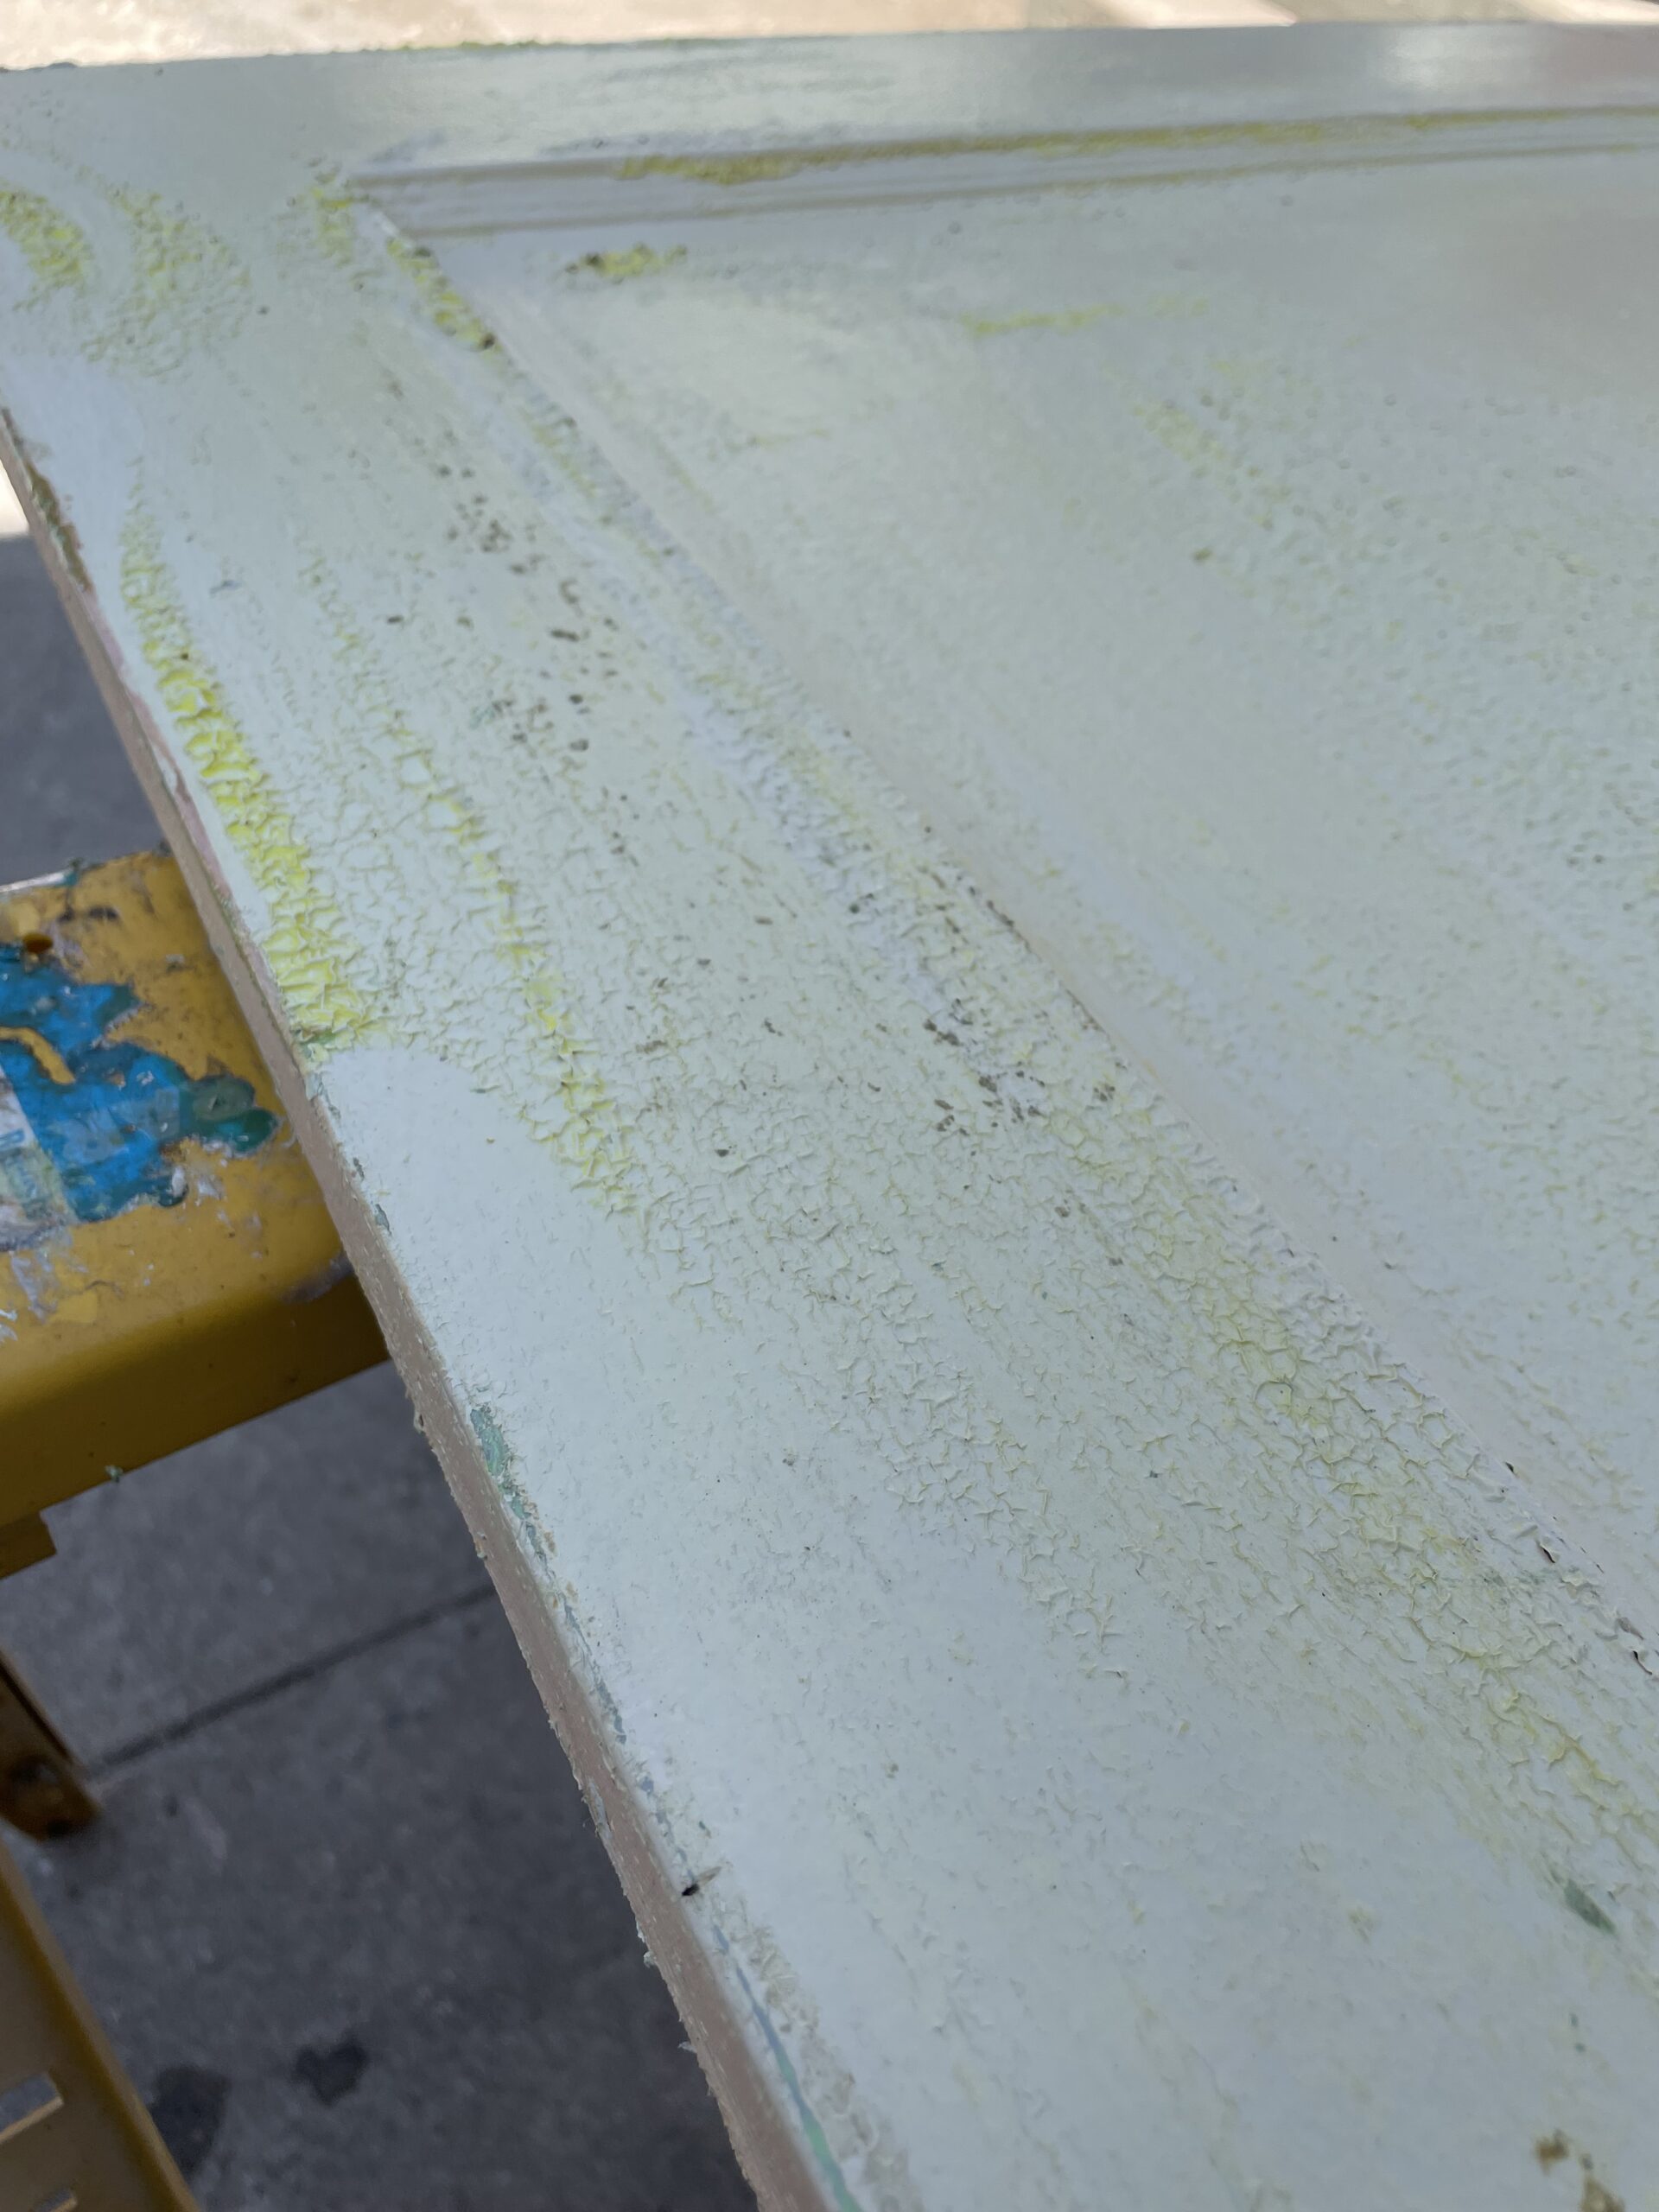
Chris started by just cleaning up the doors and scraping any loose or bubbled paint. With some research he found that Citristrip was the “cleanest” but more strong stripping solution out there and reasonably priced as well. After a few tries with that, it was proving not as effective as we needed. We knew that there was a lot of layers but never thought there were at least 7+ layers on any given door. We are talking white, tan, beige, two different teals, mauve and so on. Yikes!
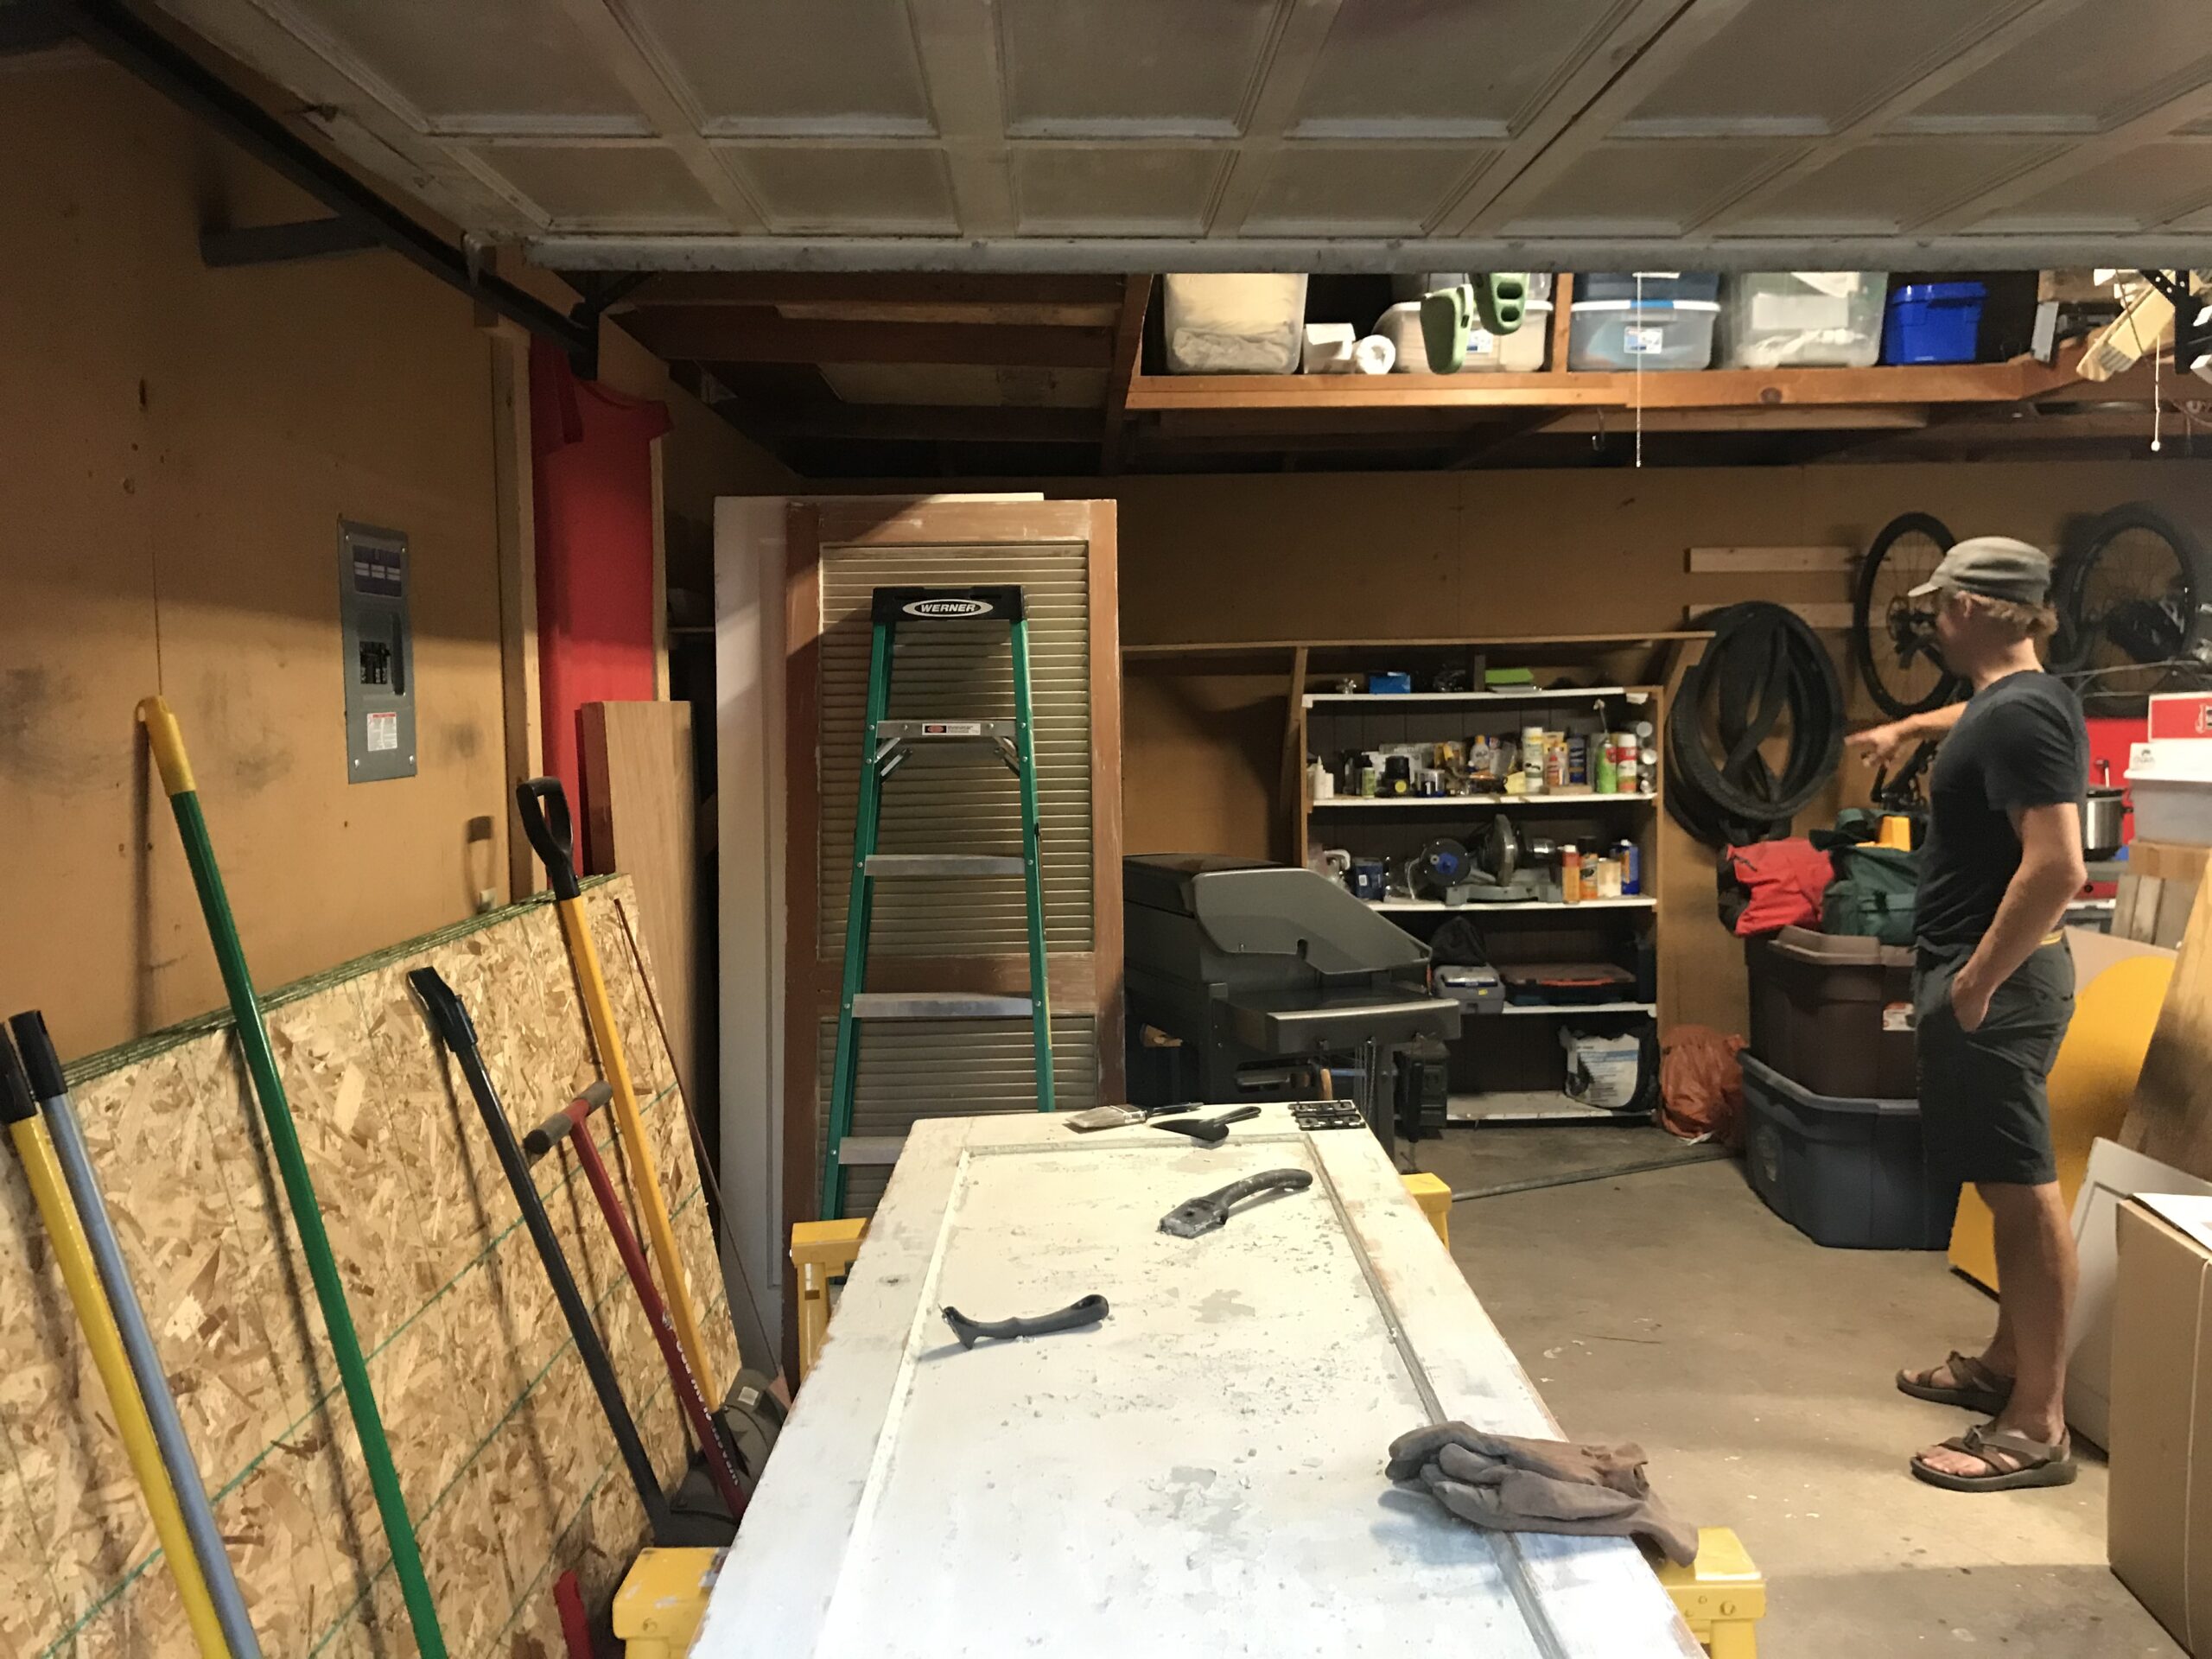
So then they sat, just staring at us and taunting us with their many difficult layers. Every time I’d go into the garage I would just see those semi stripped doors looking sad, but also daunting.
Now it’s the fall of 2021 and we still have no doors and yours truly has come to find a lot of time on her hands. I talked with Chris and said, if I can use whatever I want, I’ll see about finishing these puppies up. He agreed and that is how I found myself looking like this recently.
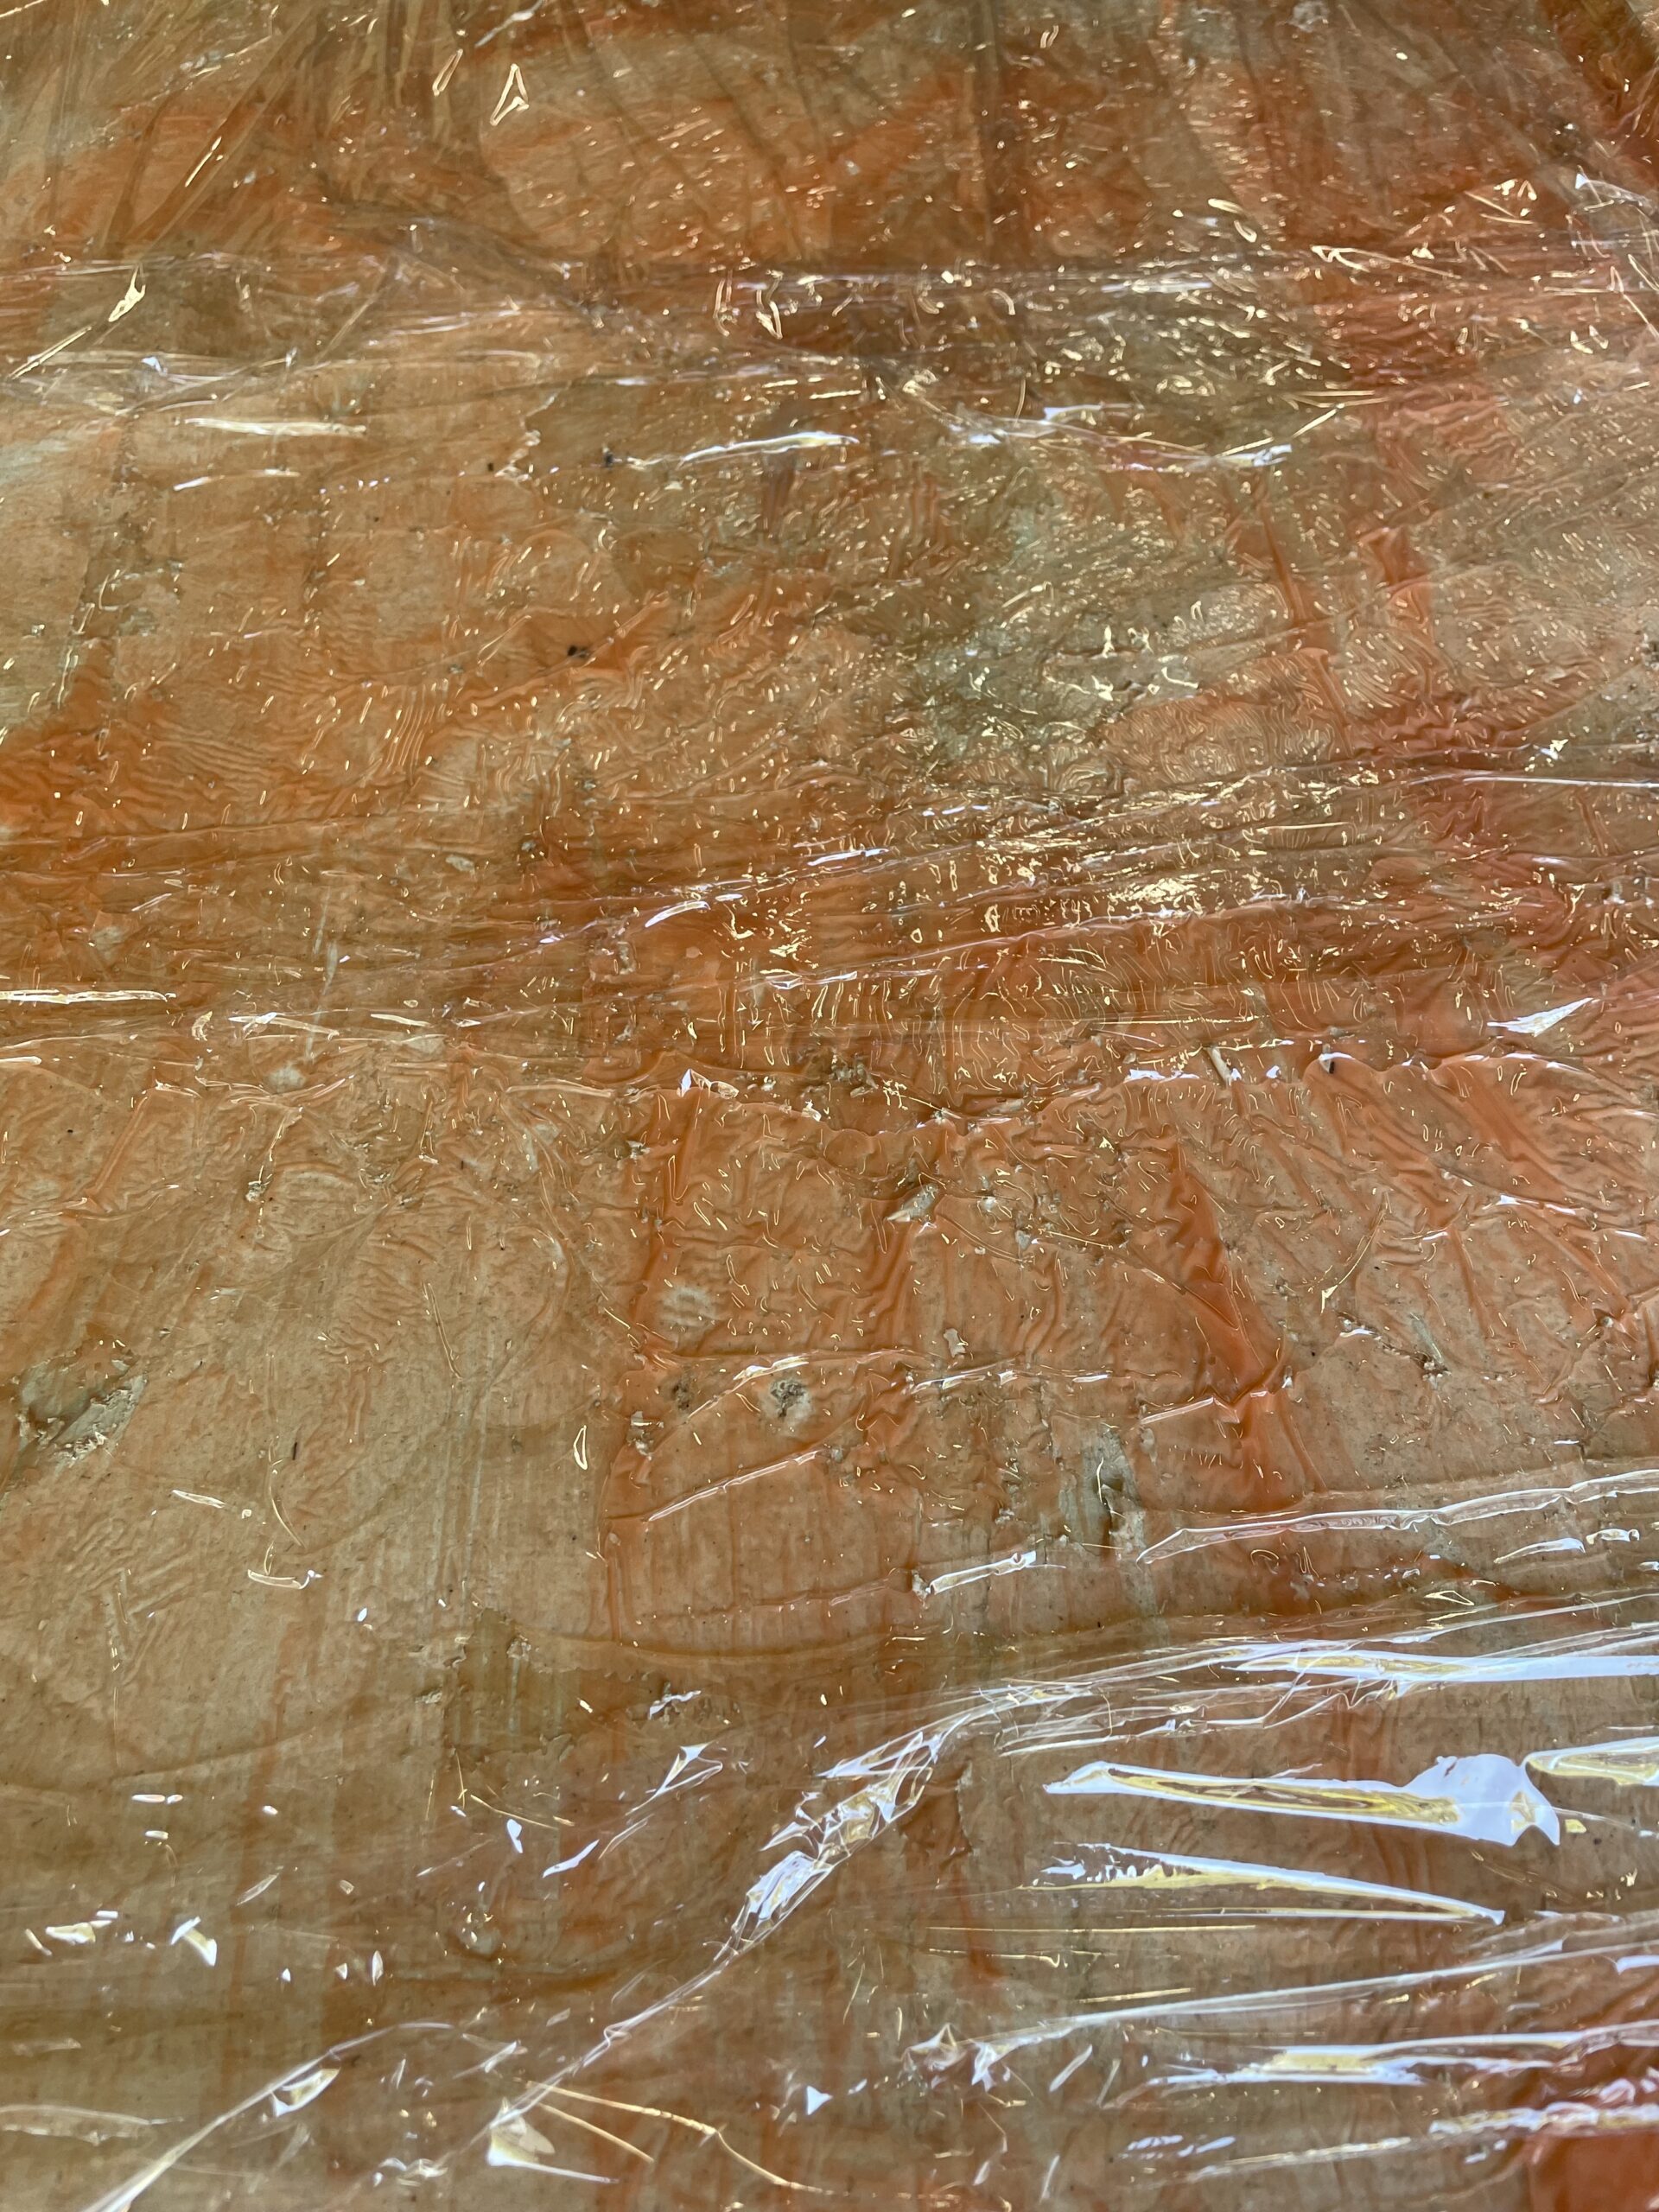
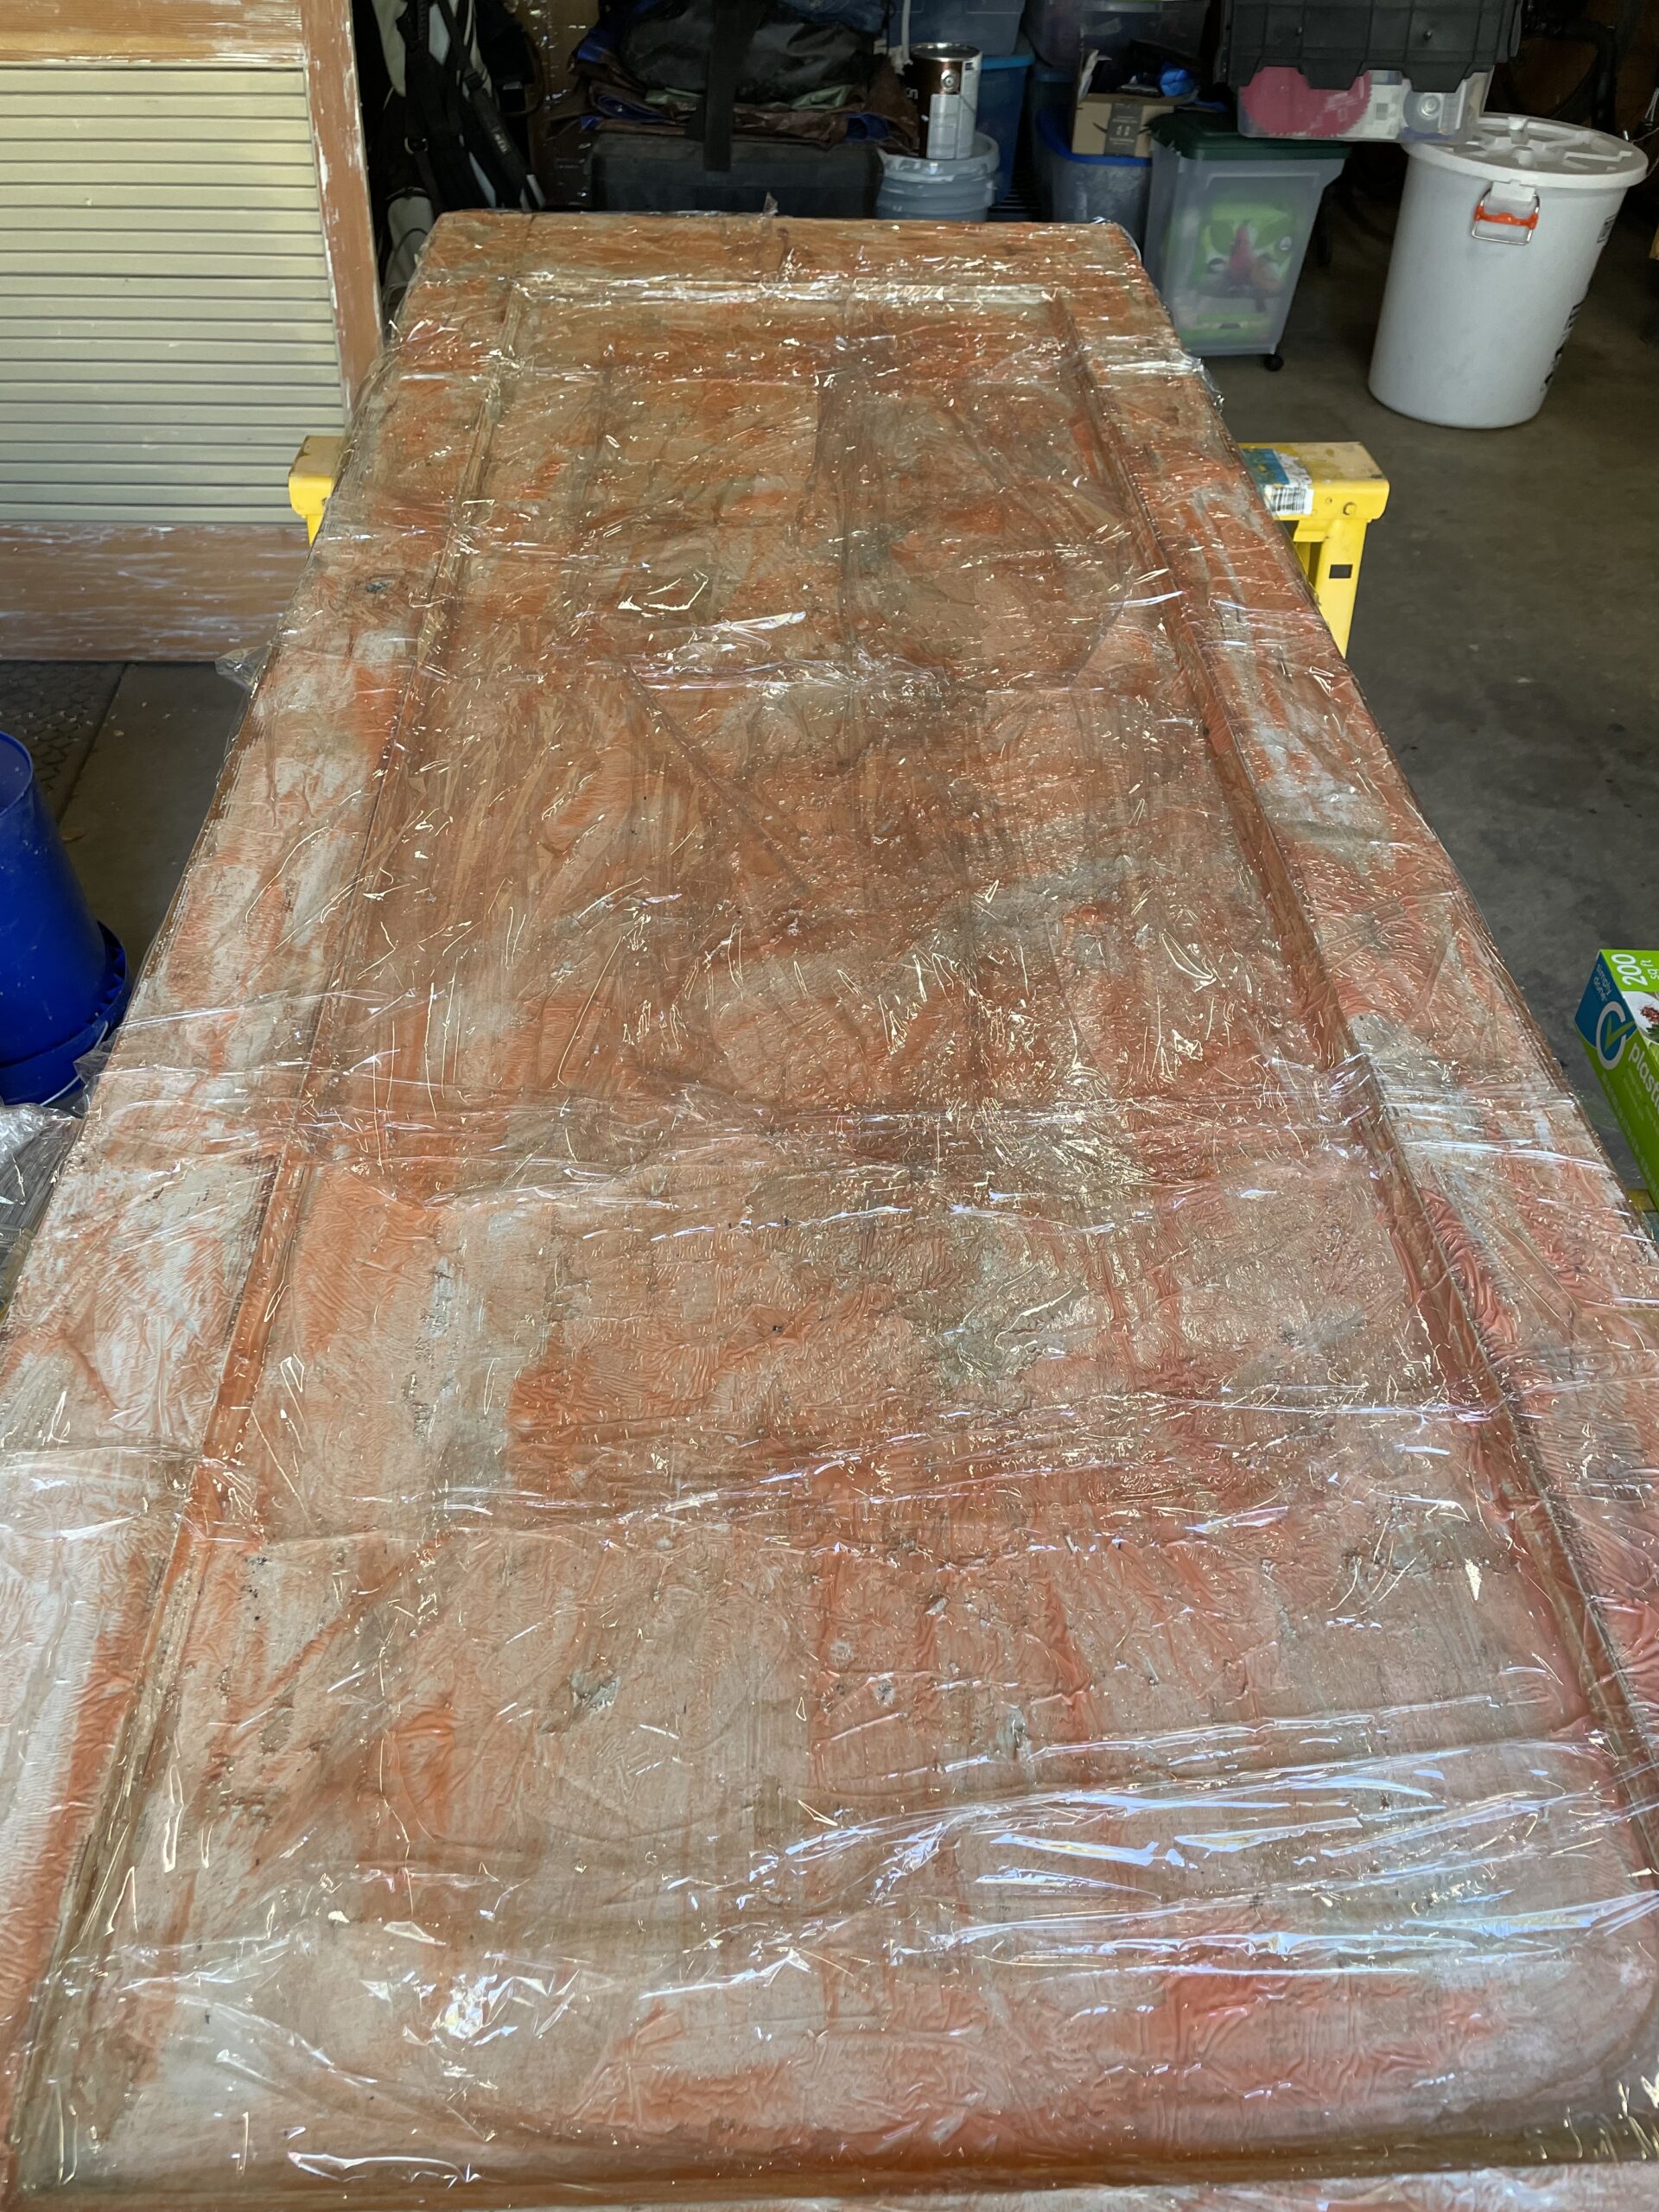
I started with the side Chris had started with, using Citristip as 1) I didn’t think he was thorough with the application and 2) I found a better, possibly stronger way of applying it. I had applied a generous amount to the door and from the youtube video recommendation, covered the door in cellophane. This would allow the agent to not dry out giving it ample time to do the hard work of stripping the many layers of paint. The downside is that this took a long time of waiting. I started by giving it 2 hours. When I went to check on it it was still wet (good!) but hadn’t really bubbled up as much as the videos said it should. So I gave it another hour. After that I used my stripping tools, I’ll link to the tools I used below too, and got to work.
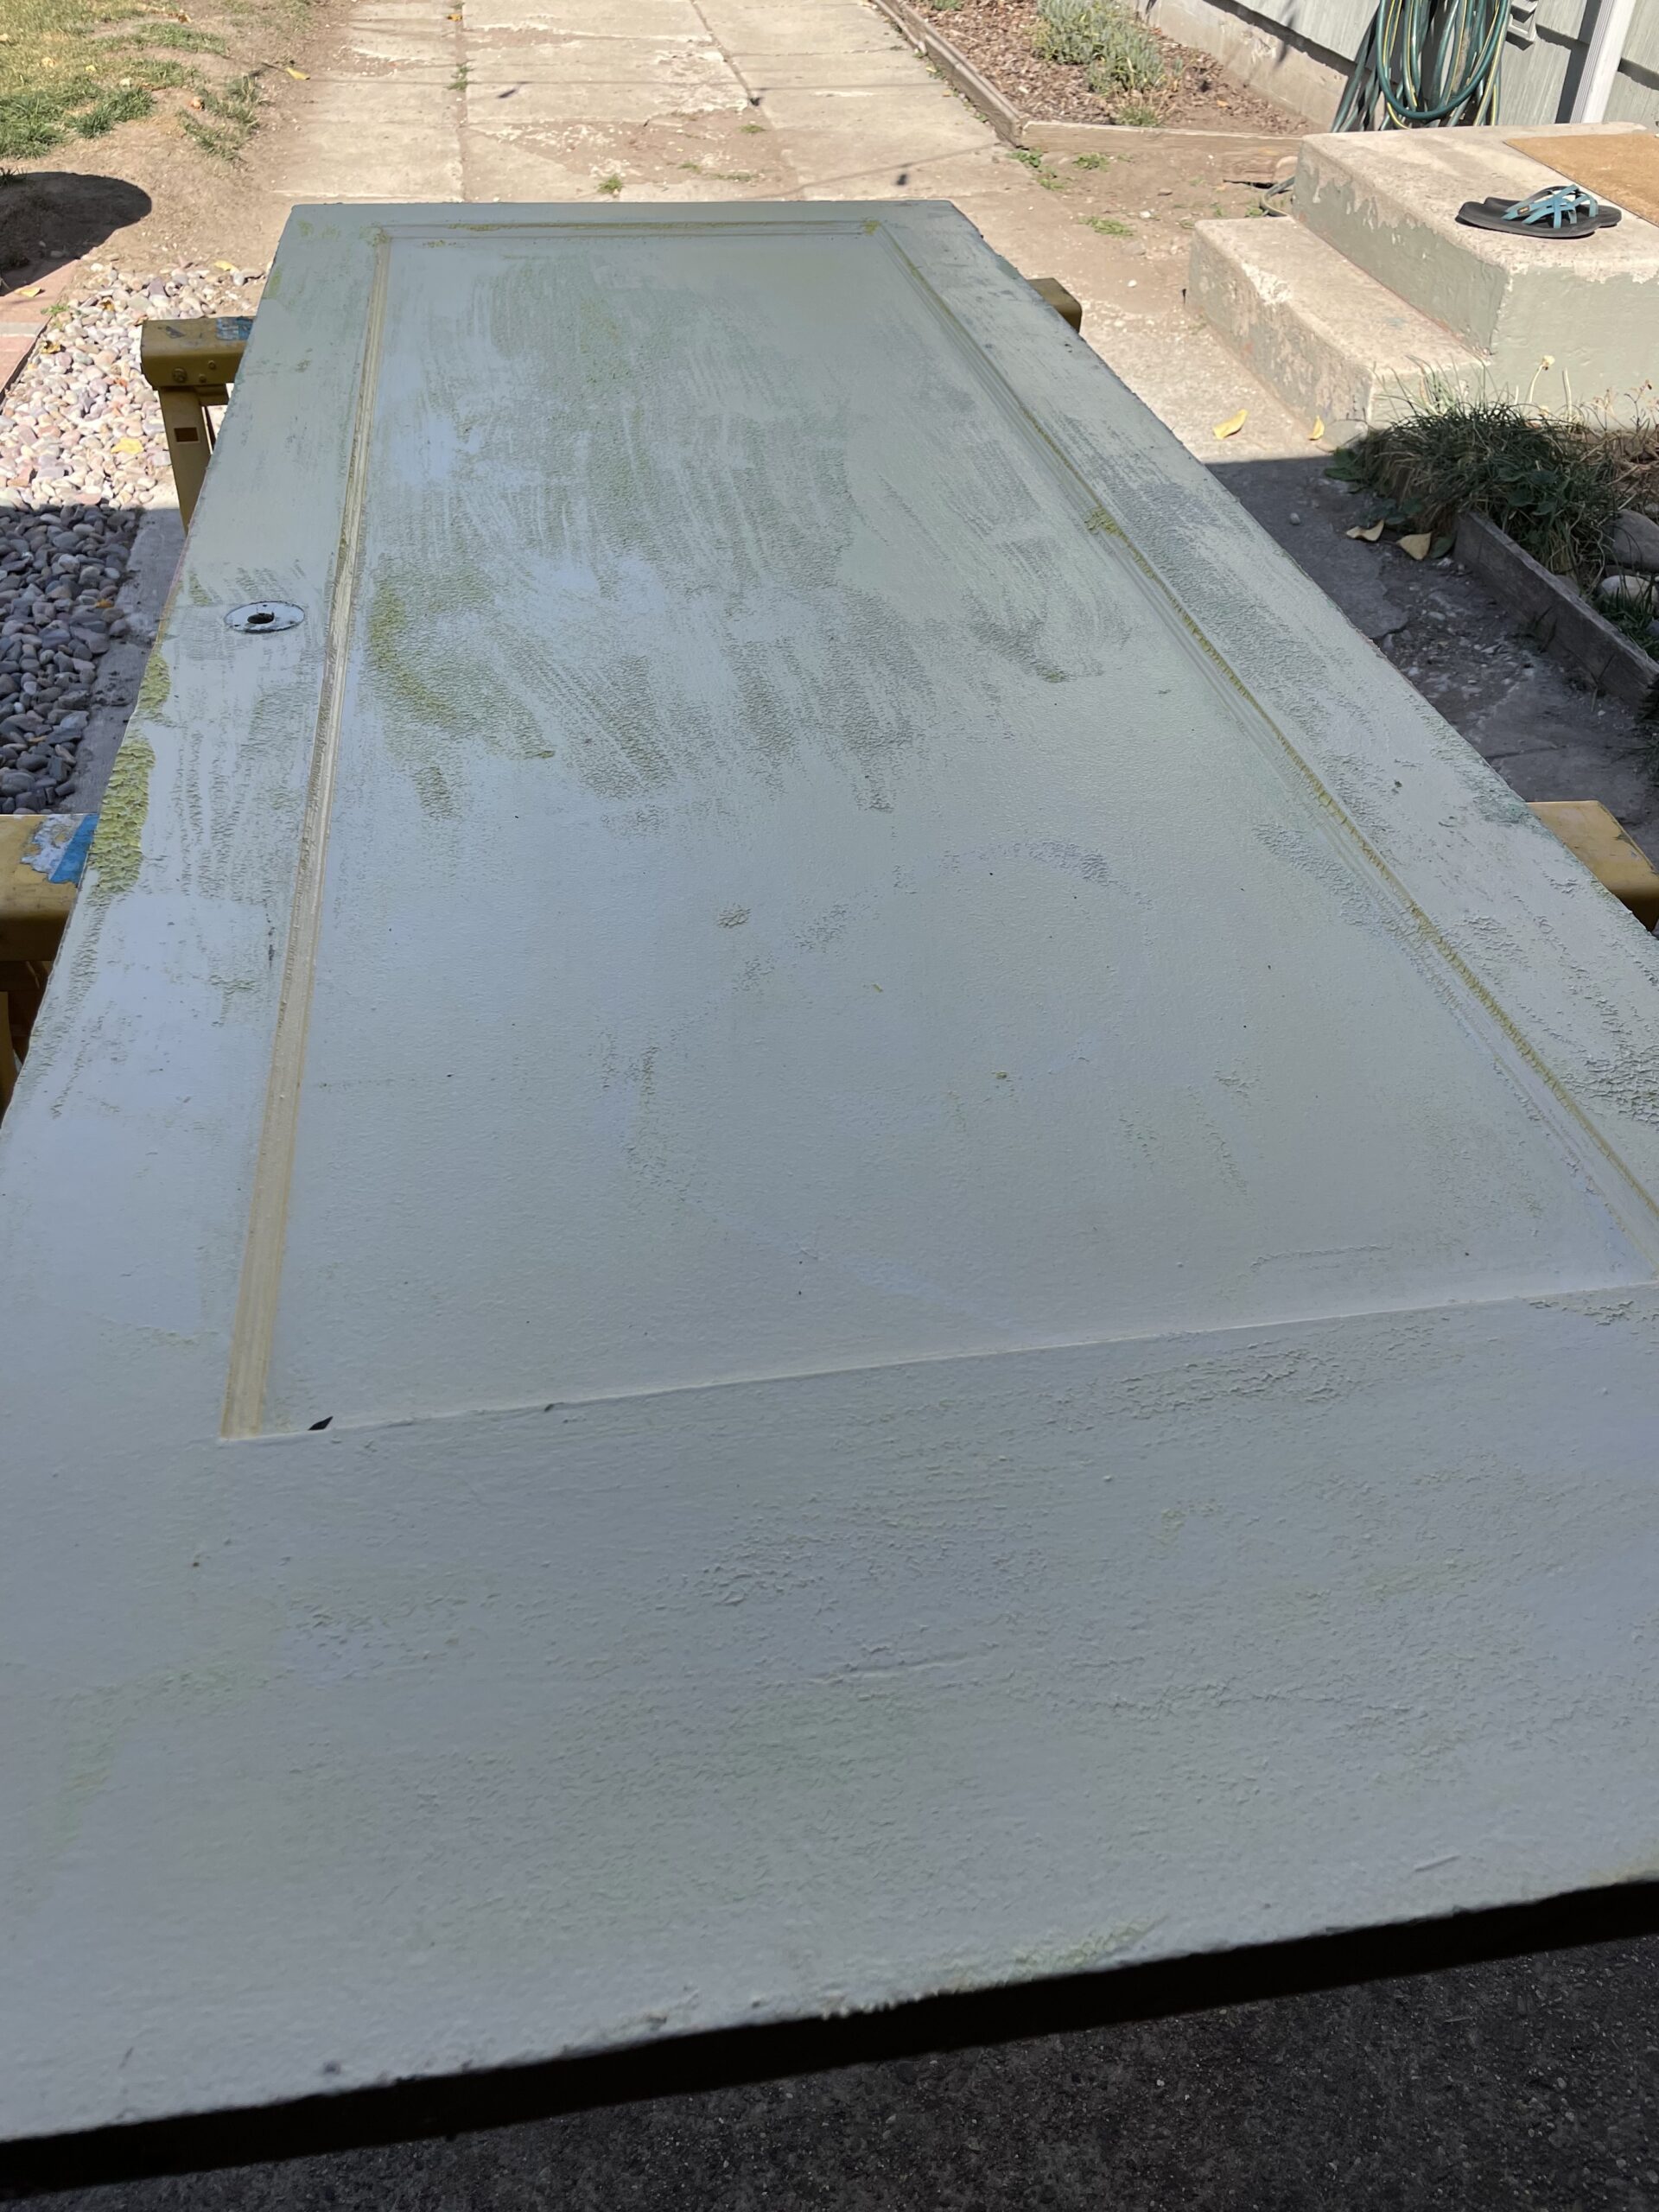
It was a sticky messy process, and I did manage to get a few layers off, maybe two to three in some cases, but I still didn’t see as much wood grain as I was hoping for. I decided I needed something stronger.

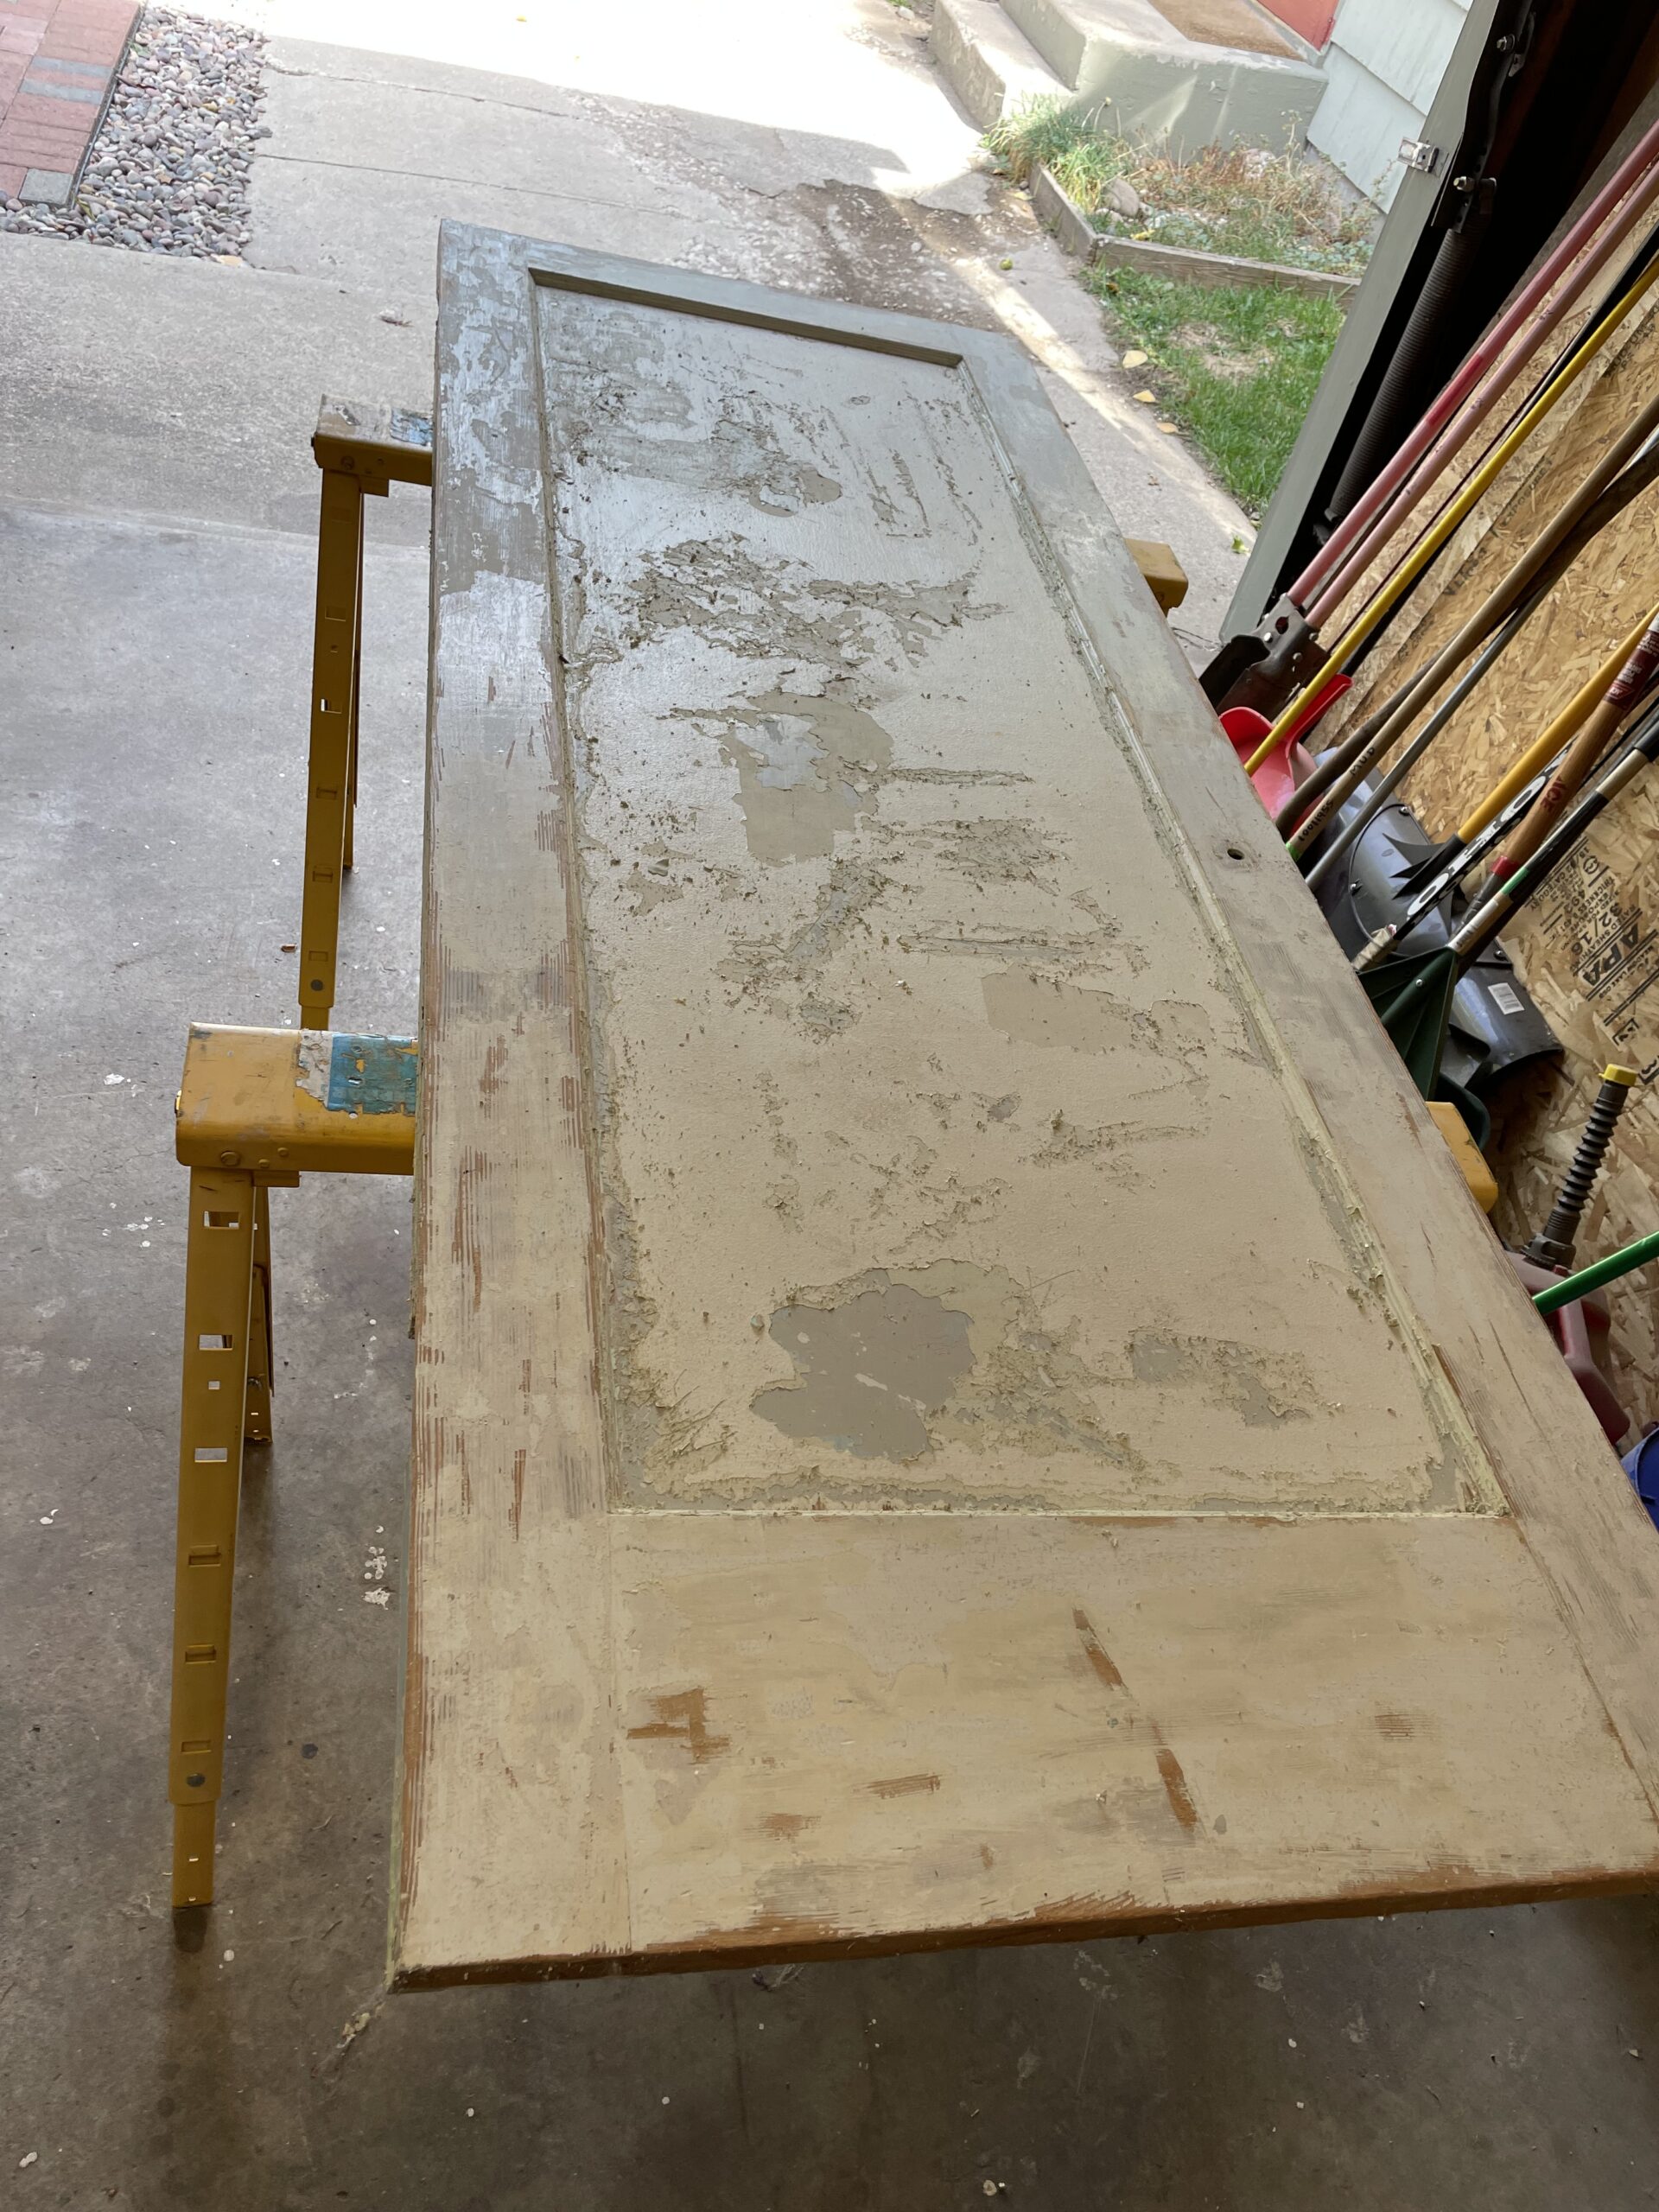
After some googling and a few youtube videos I found a product called Jasco paint and epoxy remover. From the videos I saw I figured this is my best shot. Now something to note, this stuff is tough and very caustic. I’m talking even outside with a breeze I had to wear my ventilator to just be outside, even when I wasn’t necessarily working on the door. The dogs were inside and all windows and doors near that part of the house were closed up. Be very cautious working with this stuff. I wore gloves that I changed after every application and a long sleeve shirt, jeans and closed toed shoes.
Even with this heavy duty stripper I still had to go over the application, waiting, and stripping process twice on this one side. On the bright side the waiting time is way shorter. Instead of waiting for 2 – 3 hours it was 30 – 45mins.
At this time I am going to try and do a thorough sanding and then we will evaluate the next steps. Either keep going and try and get that desired wood, or just do a real good paint job. We could do the same white that is throughout our house, or decide on a bold accent color, (maybe grey or black?). I’ll make sure to do an updated before and after once it is done, the goal is to get this dang door wrapped up and installed back where it belongs. It’s been apart from that doorway for far too long.
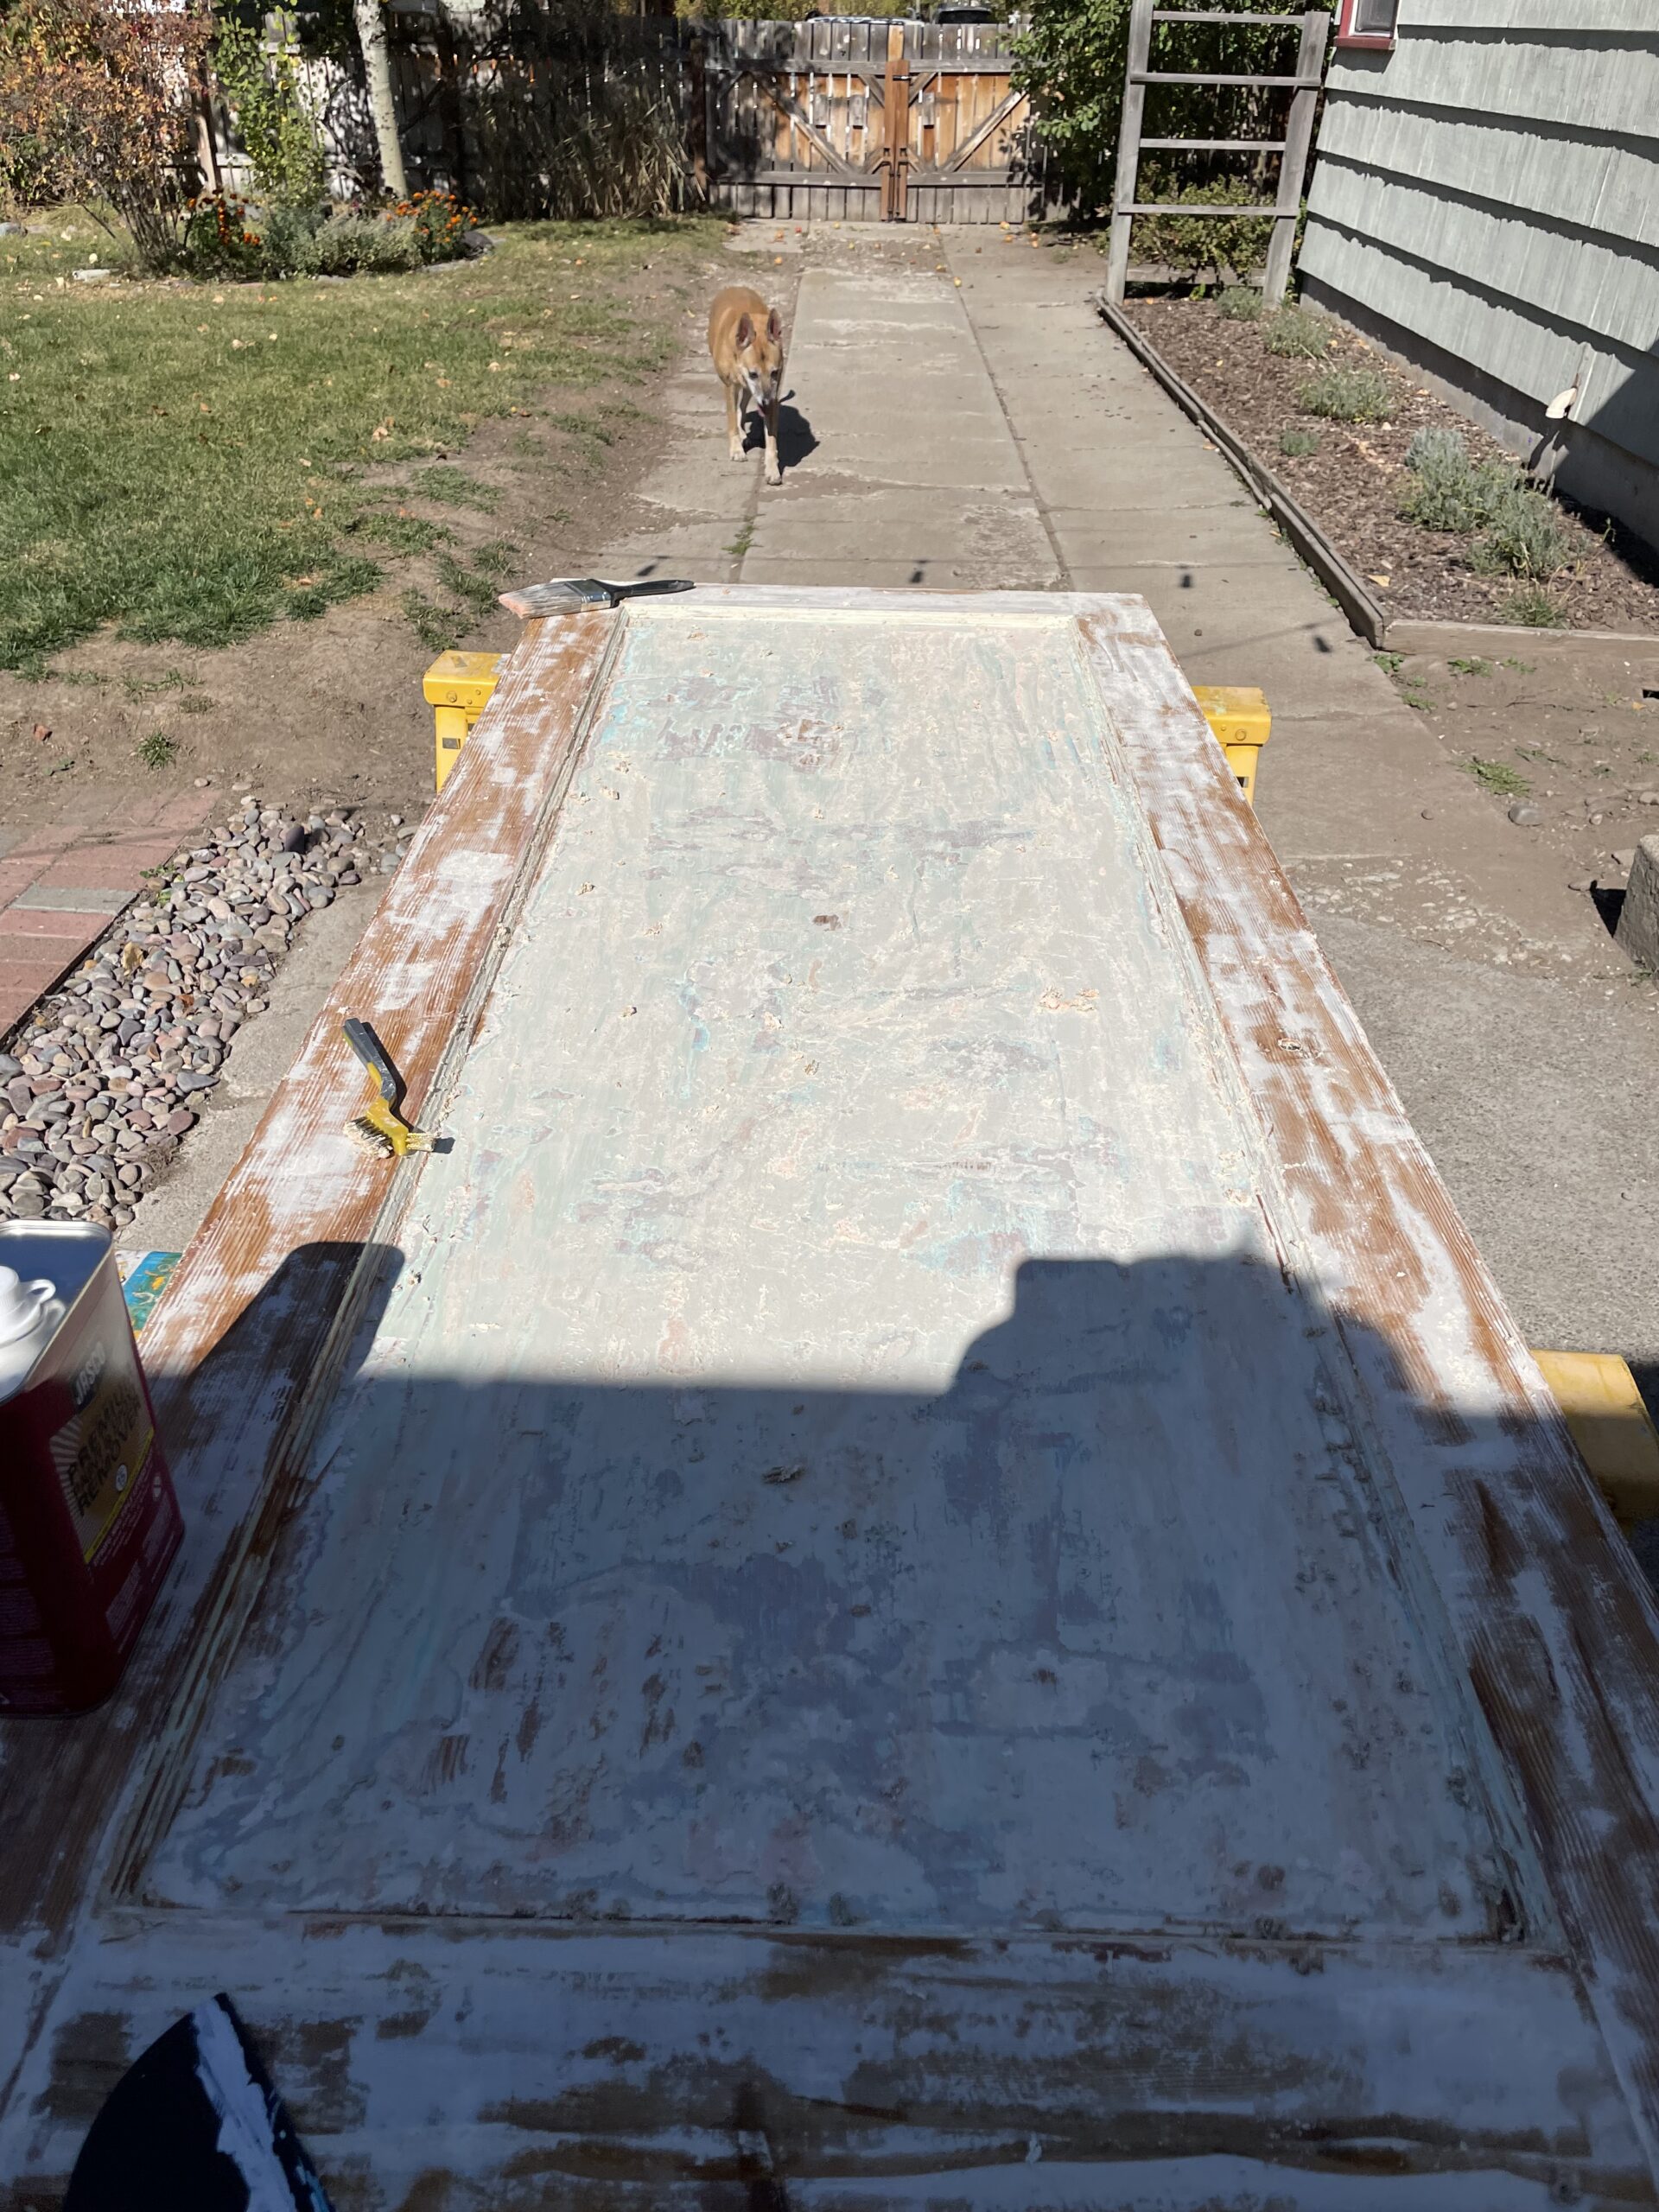
Above is the side that got the two different treatments. Below is after the two Jasco applications. It appears that both sides of the door have differing layers of paint. Oy with the poodles already, am I right? Wish us luck as we continue this fairyta…. Drama.

*This post contains affiliate links.